WPA/WPA-2
When it was known that a WEP network could be hacked by any kid with a laptop and a network connection (using easy peasy tutorials like those on our blog), the security guys did succeed in making a much more robust security measure WPA/WPA2.
 Now hacking WPA/WPA2 is a very tedious job in most cases. A dictionary attack may take days, and still might not succeed. Also, good dictionaries are huge. An exhaustive bruteforce including all the alphabets (uppercase lowercase) and numbers, may take years, depending on password length. Rainbow tables are known to speed things up, by completing a part of the guessing job beforehand, but the output rainbow table that needs to be downloaded from the net is disastrously large (can be 100s of GBs sometimes). And finally the security folks were at peace. But it was not over yet, as the new WPA technology was not at all easy for the users to configure. With this in mind, a new security measure was introduced to compliment WPA. Wifi Protected Setup (WPS). Now basically it was meant to make WPA even tougher to crack, and much easier to configure (push a button on router and device connects). However, it had a hole, which is now well known, and tools like reaver can exploit it in a single line statement. It still might take hours, but it is much better than the previous scenario in which months of brute-forcing would yield no result.
Here's what wikipedia says about WPS-
Created by the Wi-Fi Alliance and introduced in 2006, the goal of the protocol is to allow home users who know little of wireless security and may be intimidated by the available security options to set up Wi-Fi Protected Access, as well as making it easy to add new devices to an existing network without entering long passphrases. Prior to the standard, several competing solutions were developed by different vendors to address the same need. A major security flaw was revealed in December 2011 that affects wireless routers with the WPS feature, which most recent models have enabled by default. The flaw allows a remote attacker to recover the WPS PIN in a few hours with a brute-force attack and, with the WPS PIN, the network's WPA/WPA2 pre-shared key. Users have been urged to turn off the WPS feature, although this may not be possible on some router models.
Working Of WPS
Now while most of the things are the same as in WPA, there is a new concept of using pins for authentication. So basically, the client sends 8 digit pins to the access point, which verifies it and then allows the client to connect. Now a pin has 8 digits, and only contains numbers, so its a possible target for bruteforece. Under normal bruteforcing of WPA passwords, you have to consider the fact that there may be number, alphabets, and sometimes symbols (and more than 8 letters). This make the task a billion billion times tougher. However, we can try thousands of keys per second, which make it a tad bit easier. Now in WPS, there is a delay because we have to wait for APs response, and we may only try a few keys per second (practically the best I've seen on my PC is 1 key per 2 sec). Basically, 8 digits and 10 possibilities per digit (0-9) make it 10^8 (interpret ^ as raised to the power of)seconds if we assume one key per second. Now that'll be years. So, where is this taking us? The answer is, there are flaws in this technology that can be used against it.
- The 8th digit is a checksum of first 7 digits. 10^7 possibilities, i.e. one-tenth time. Two months, still a way to go.
- The pin number for verification goes in two halves, so we can independently verify the first four and the last four digits. And believe me, its easy to guess 4 digits correct two times, than to guess 8 correct digits at once. Basically, the first half would take 10^4 guess and the second would take 10^3.
Now the guesses would be 10^4 + 10^3 (not 10^4 *10 ^3). Now we need 11,000 guesses.
So that'll take 3 hours approximately. And that's all the combinations, and most probably the correct pin will not be the last combination, so you can expect to reach the result earlier. However, the assumption is that bruteforcing will take place at a key per second. My personal best is a key every 2 seconds, and yours might drop to as low as a key every 10 seconds.
How to carry out the attack
Now it might have been tough to carry out this attack at some point in history, but now, its a breeze. If you have all the prerequisites, then hacking the network would be as easy as
reaver -i <interface-name> -b <BSSID of target>And if you are already familiar with hacking WEP, then just go to your Kali Linux terminal and type the above command (replacing what needs to be replaced). Leave your machine as is, come back 10 mins later, check the progress (must be 1% or something), and go take a nap. However, if you're a newbie, then tag along.
Kali Linux
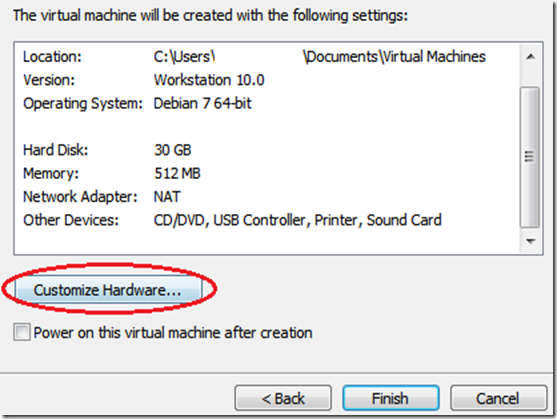
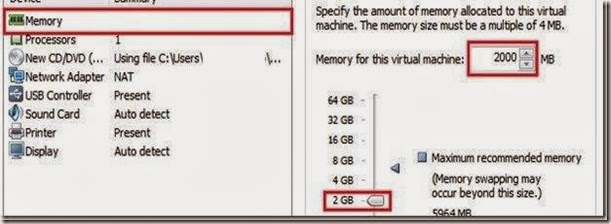
First off, you need to have Kali linux (or backtrack) up and running on your machine. Any other Linux distro might work, but you'll need to install Reaver on your own. Now if you don't have Kali Linux installed, you might want to go to this page, which will get you started on hacking with Kali Linux. (Reaver has a known issue : Sometimes it doesn't work with Virtual Machines, and you might have to do a live boot using live CD or live USB of Kali Linux. See the last section of this post on = troubleshooting by scrolling down a bit)
Information Gathering
Now you need to find out the following about you target network-
- Does it have WPS enabled. If not, then the attack will not work.
- The BSSID of the network.
Now to check whether the network has WPS enabled or not, you can either use wash or just use the good old airodump-ng. Wash is specifically meant to check whether a network has WPS enabled or not, and thereby is much easier to use. Here are the steps-
- Set your wireless interface in monitor mode-
airmon-ng start wlan0
- Use wash (easy but sometimes unable to detect networks even when they have wps enabled). If any network shows up there, it has WPS enabled.
wash -i mon0
 |
| This will show all the networks with WPS enabled |
 |
| This is an error which I haven't figured out yet. If you see it, then you'll have to do some howework, or move on to airodump method. Update : wash -i mon0 --ignore-fcs might solves the issue. |
- Use airodump-ng. It will show all networks around you. It tells which of them use WPA. You'll have to assume they have WPS, and then move to next steps.
airodump-ng mon0
 |
| None of them has WPS enabled, just saying. |
BSSID of the network - Now irrespective of what you used, you should have a BSSID column in the result that you get. Copy the BSSID of the network you want to hack. That's all the information you need.
So by now you must have something like XX:XX:XX:XX:XX:XX, which is the BSSID of your target network. Keep this copied, as you'll need it.
Reaver
Now finally we are going to use Reaver to get the password of the WPA/WPA2 network. Reaver makes hacking very easy, and all you need to do is enter-reaver -i mon0 -b XX:XX:XX:XX:XX:XXExplanation = i - interface used. Remember creating a monitor interface mon0 using airmon-ng start wlan0. This is what we are using. -b species the BSSID of the network that we found out earlier.
This is all the information that Reaver need to get started. However, Reaver comes with many advanced options, and some are recommended by me. Most importantly, you should use the -vv option, which increases the verbosity of the tool. Basically, it writes everything thats going on to the terminal. This helps you see whats happening, track the progress, and if needed, do some troubleshooting. So final command should be-
reaver -i mon0 -b XX:XX:XX:XX:XX:XX -vvAfter some hours, you will see something like this. The pin in this case was intentionally 12345670, so it was hacked in 3 seconds.
Here is an extra section, which might prove useful (or more like consoling, to let you know you are not the only one who is having troubles)
Known problems that are faced - Troubleshooting
- As in the pic above, you saw the first line read "Switching wlan0 to channel 6". (Yours will be mon0 instead of wlan0). Sometimes, it keeps switching interfaces forever.
- Sometimes it never gets a beacon frame, and gets stuck in the waiting for beacon frame stage.
- Sometimes it never associates with the target AP.
- Sometimes the response is too slow, or never comes, and a (0x02) or something error is displayed.
In most cases, such errors suggest-
- Something wrong with wireless card.
- AP is very choosy, won't let you associate.
- The AP does not use WPS.
- You are very far from the AP.
Possible workarounds-
- Sometimes, killing naughty processes helps. (see pictures below)
- Move closer to target AP
- Do a fakeauth using aireplay-ng (Check speeding up WEP hacking) and tell Reaver not to bother as we are already associated using -A (just add -A at the end of your normal reaver code)
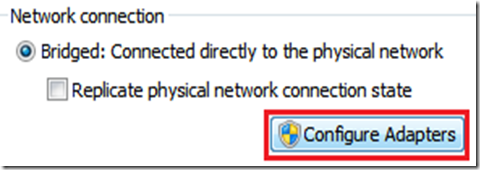
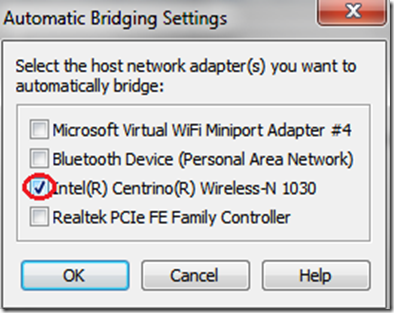
- If you are using Kali Linux in Vmware, try booting into Kali using USB. I don't know why, but sometimes internal adapters work wonders, and can't be used from inside of a VM. In my case, booting up from USB and using internal adapter increased the signal strength and speeded up the bruteforce process. Update : It has nothing to do with internal adapter. I have verified my observation with various hackers, and it is now a known problem with Reaver. It does not work well inside Virtual machines. It is recommended that you do a live boot.
 |
| processes causing problems |
 |
| Kill 'em all |
All that I have written above (the troubleshooting section) is based on personal experience, and might not work. All the problems mentioned above, are well known on forums, and no 100% working solution could be found anywhere (I do my homework before posting). If you are aware of solution to any of these, do comment (anonymous comments are enabled)


